 百木园
百木园请滑到文章末尾查看完整源码的获取方式!
【阅读全文】
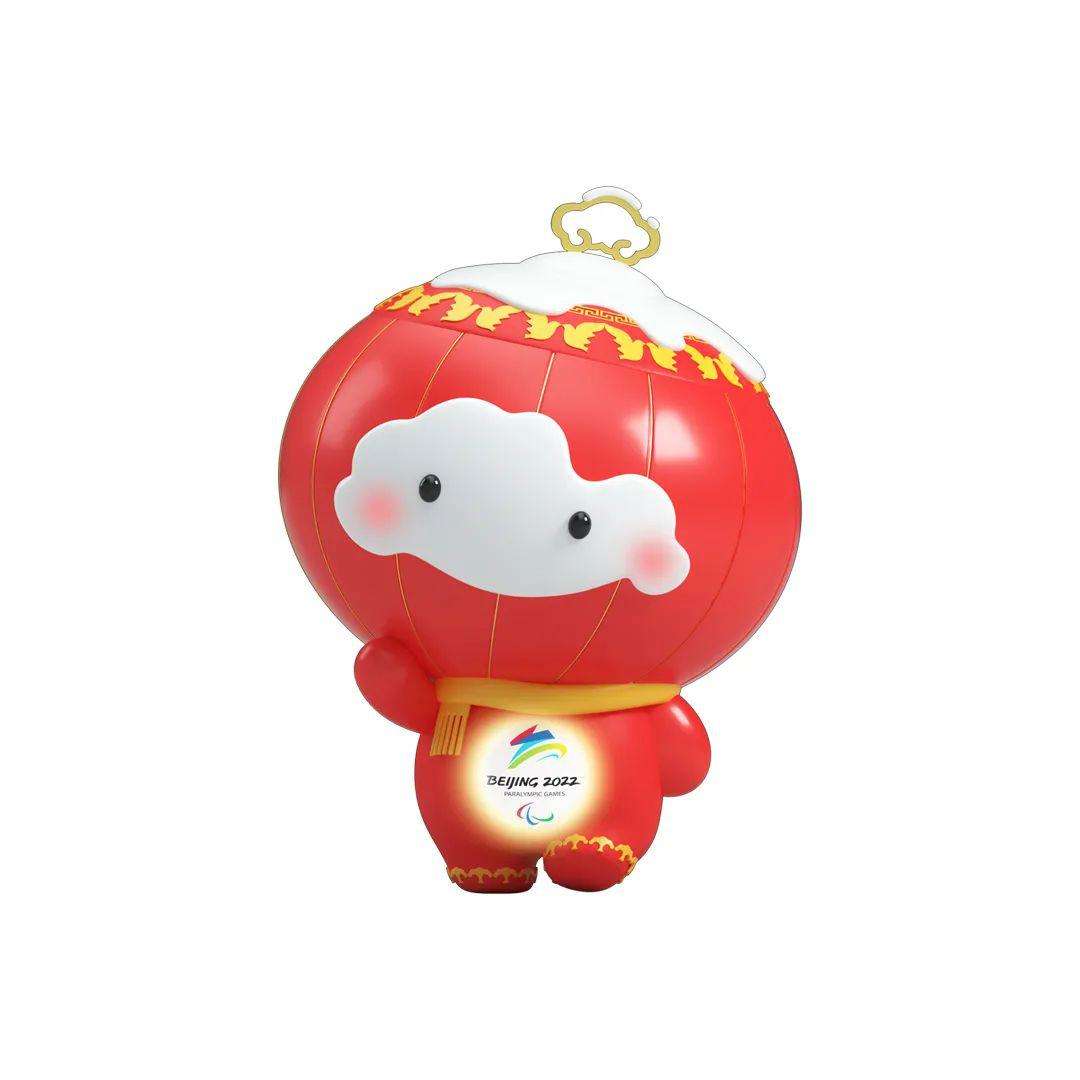
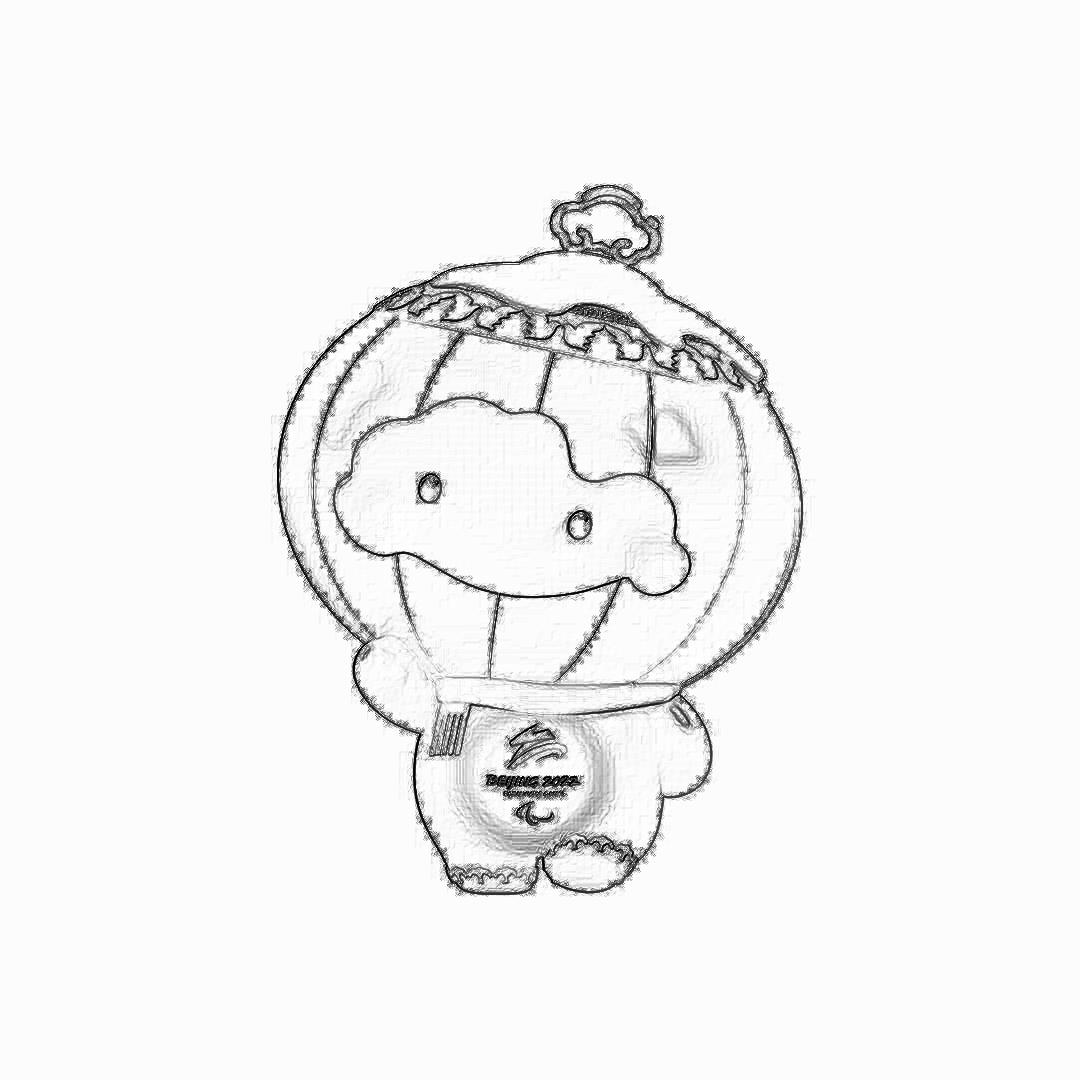
在百度上面找了一个雪容融的图片,看一下生成的手绘图片效果...
手绘图片生成器可以将导入的彩色图片通过python分析光源、灰度等操作生成手绘图片。
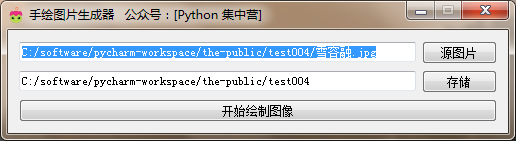
UI界面的整体部分代码块,UI界面的设计比较简单。效果在上面的图片展示。
class HandImage(QWidget):
def __init__(self):
super(HandImage, self).__init__()
self.init_ui()
def init_ui(self):
\'\'\'
UI界面组件及布局
:return:
\'\'\'
self.setWindowTitle(\'手绘图片生成器 公众号:[Python 集中营]\')
self.setWindowIcon(QIcon(\'手绘图标.ico\'))
self.setFixedWidth(500)
self.sou_im_path = QLineEdit()
self.sou_im_path.setReadOnly(True)
self.sou_im_path_btn = QPushButton()
self.sou_im_path_btn.setText(\'源图片\')
self.sou_im_path_btn.clicked.connect(self.sou_im_path_btn_clk)
self.dir_path = QLineEdit()
self.dir_path.setReadOnly(True)
self.dir_path_btn = QPushButton()
self.dir_path_btn.setText(\'存储\')
self.dir_path_btn.clicked.connect(self.dir_path_btn_clk)
self.start_btn = QPushButton()
self.start_btn.setText(\'开始绘制图像\')
self.start_btn.clicked.connect(self.start_btn_clk)
grid = QGridLayout()
grid.addWidget(self.sou_im_path, 0, 0, 1, 1)
grid.addWidget(self.sou_im_path_btn, 0, 1, 1, 1)
grid.addWidget(self.dir_path, 1, 0, 1, 1)
grid.addWidget(self.dir_path_btn, 1, 1, 1, 1)
grid.addWidget(self.start_btn, 2, 0, 1, 2)
self.thread_ = WorkThread(self)
self.thread_.finished.connect(self.finished)
self.setLayout(grid)
# UI界面上的槽函数
def sou_im_path_btn_clk(self):
\'\'\'
选择源图片并设置路径
:return:
\'\'\'
im_path = QFileDialog.getOpenFileName(self, os.getcwd(), \'打开图片\', \'Image File(*.jpg);;Image File(*.png)\')
self.sou_im_path.setText(im_path[0])
def dir_path_btn_clk(self):
\'\'\'
选择存储路径并设置路径
:return:
\'\'\'
dir_path = QFileDialog.getExistingDirectory(self, os.getcwd(), \'选择路径\')
self.dir_path.setText(dir_path)
def start_btn_clk(self):
\'\'\'
开始按钮绑定的槽函数
:return:
\'\'\'
self.start_btn.setEnabled(False)
self.thread_.start()
def finished(self, finished):
\'\'\'
用于子线程传递完成信号的槽函数
:param finished: 信号变量
:return:
\'\'\'
if finished is True:
self.start_btn.setEnabled(True)
其中绘图用到的第三方库只有两个,主要的还是Pillow图像处理库,还有就是numpy科学计算库用于一些数组计算等的操作。
将第三方的处理库导入到代码块中
from PIL import Image # 图像处理模块
import numpy as np # 科学计算库
# PyQt5界面制作及样式、核心组件
from PyQt5.QtGui import *
from PyQt5.QtWidgets import *
from PyQt5.QtCore import *
# 应用基础操作相关
import sys
import os
创建用于专门手绘图像的子线程类,将UI界面的处理逻辑和生成图像的处理逻辑分开不至于产生无响应的卡死状态。
class WorkThread(QThread):
finished = pyqtSignal(bool)
def __init__(self, parent=None):
super(WorkThread, self).__init__(parent)
self.parent = parent
self.working = True
def __del__(self):
self.working = False
self.wait()
def run(self):
# 源图片路径
sou_im_path = self.parent.sou_im_path.text().strip()
# 存储路径
dir_path = self.parent.dir_path.text().strip()
if sou_im_path == \'\' or dir_path == \'\':
self.finished.emit(True)
return
# 打开需要进行转的图像,并进行参数设置,取出来的参数主要图像的一些梯度值。最后进行数组保存。
vals = np.asarray(Image.open(sou_im_path).convert(\'L\')).astype(\'float\')
\'\'\'图像参数处理\'\'\'
depth = 12.0 # 设置初始化深度
gray_vals = np.gradient(vals) # 提取图像灰度的梯度值
gray_x, gray_y = gray_vals # 单独提取横坐标与纵坐标的灰度值
print(\'当前横坐标的灰度值:\', gray_x)
print(\'当前纵坐标的灰度值:\', gray_y)
# 重新设置横坐标合纵坐标的灰度值
gray_x = gray_x * depth / 100.0
gray_y = gray_y * depth / 100.0
# 根据numpy.sqrt()函数计算横坐标和纵坐标灰度值的平方根
gray_sqrt = np.sqrt(gray_x ** 2 + gray_y ** 2 + 1.0)
# 重新计算X轴、Y轴、Z轴的光源
light_x = gray_x / gray_sqrt
light_y = gray_y / gray_sqrt
light_z = 1.0 / gray_sqrt
# 计算光源的方位角度、俯视角度
agnle_el = np.pi / 2.2 # 俯视角度
agnle_az = np.pi / 4. # 方位角度
# 分别计算光源对X轴、Y轴、Z轴的影响
dx = np.cos(agnle_el) * np.cos(agnle_az) # 光源对x 轴的影响
dy = np.cos(agnle_el) * np.sin(agnle_az) # 光源对y 轴的影响
dz = np.sin(agnle_el) # 光源对z 轴的影响
# 设置光源归一化处理
light = 255 * (dx * light_x + dy * light_y + dz * light_z)
light = light.clip(0, 255)
# 重新构建图像
image = Image.fromarray(light.astype(\'uint8\'))
image.save(dir_path + \'/手绘图像.jpg\')
self.finished.emit(True)
print(\'手绘图像绘制完成!\')
主要代码块实现都在上面了,需要完整源代码在公众号内回复\"手绘图片生成器\"下载就好了。
我是 [Python 集中营]、很高兴您看到了最后, 我是一个专注于 Python 知识分享的公众号,希望可以得到您的关注~
【往期精彩呈现】
刚刚出炉的冬奥会吉祥物:冰墩墩,附源码...
最优美的表格查看插件:tabulate
抖音同款课堂点名系统,PyQt5写起来很简单...
开工啦!批量向PDF文件添加中文水印...
大年初二、做了一个windows通知管理器!
百度图片下载器2.0
gif动态图片生成器,多张图片组合后生成动图...
python几个常见的数据处理操作,一行代码就能完成!
过年了,用 PyQt5 生成一副春联吧...
PyQt5 最小化到托盘,升级小闹钟...
来源:https://www.cnblogs.com/lwsbc/p/15884774.html
图文来源于网络,如有侵权请联系删除。